In this activity, we will create a rainbow in code using Processing. Processing is a “flexible software sketchbook and a language for learning how to code within the context of the visual arts”, see processing.org.
To do this activity
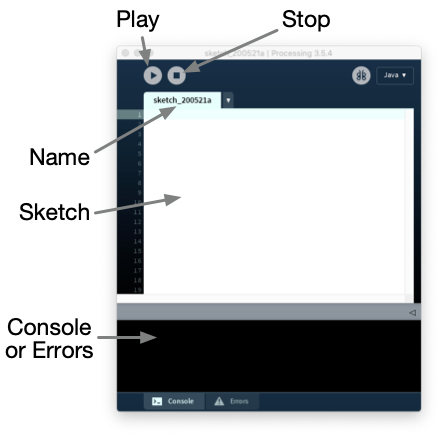
- You should have Processing already set up, and be familiar with some basic coding in Processing sketchbook, and have the sketchbook window open and running. Instructions for this activity are given in a post: set up the coding environment.
- You should have already prepared a quick sketch of the planned scene, using the critical thinking sheet, and have it to hand.
Step 1. A quick review of our plan
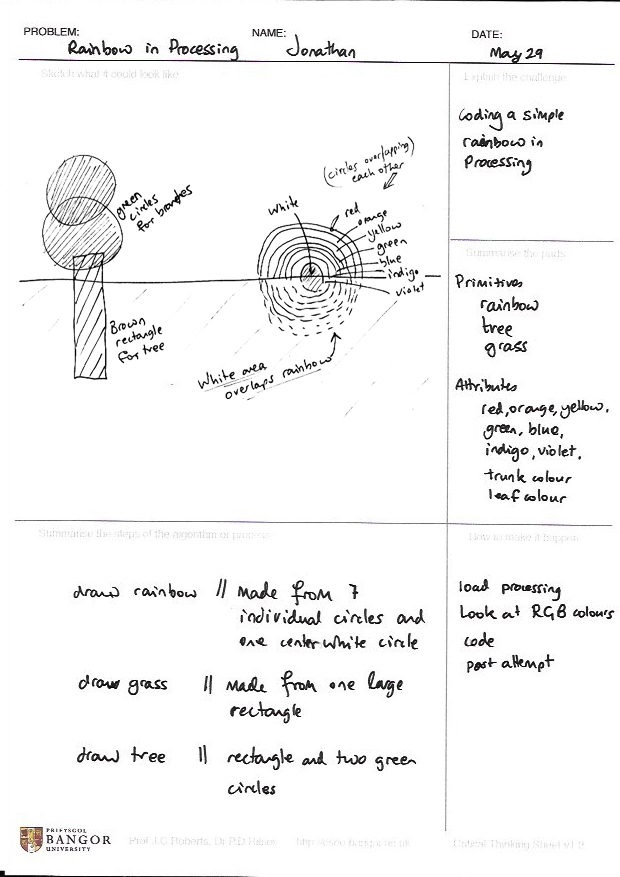
In the previous activity you would have made the plan using the critical thinking sheet (CTS). This will give you five steps that will help you code better. Just to remind you, these are:
- The summary statement of the problem. In our case this is “coding a simple rainbow in processing”.
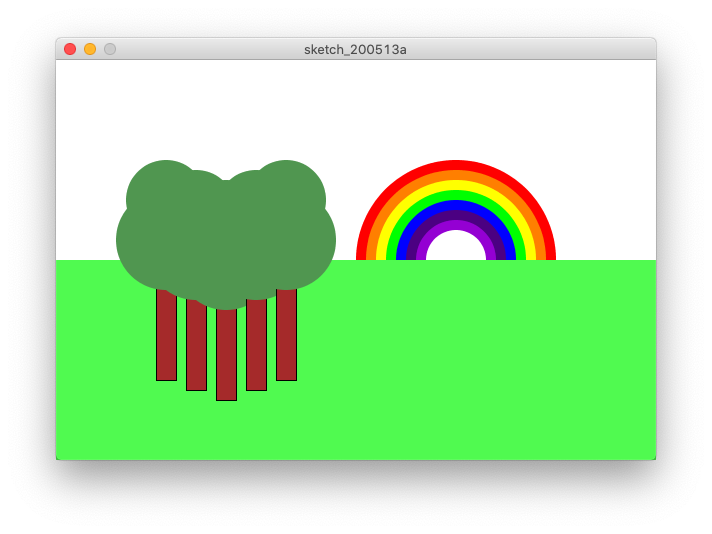
- The sketch of the scene. In our scene we had a rainbow, some grass that covers the lower part of the rainbow, and a basic tree with a brown trunk and green leaves.
- List of the key components of the system. In our case, we have primitives and attributes. The primitives are the rainbow, grass and tree. And the main attributes are the colours of the rainbow, plus the trunk colour, leaf colour and grass colour.
- The main processes and algorithm involved. Because this is a simple scene, we just have three steps: first draw the rainbow, then draw the grass that appears in front of the rainbow, and finally draw the tree, that is placed on top of the grass.
- A final list of any concerns or issues. In our case these include RGB colour coding. If you have forgotten RGB colours, or wish to remind yourself, then you can take a look at the RGB Coding activity again.
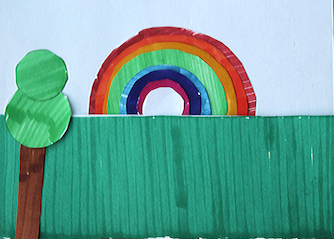
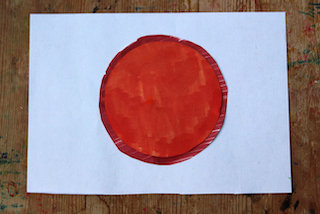
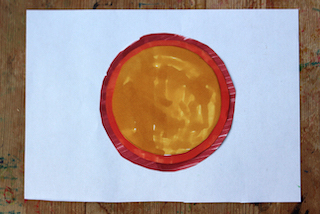
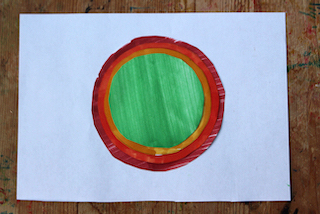
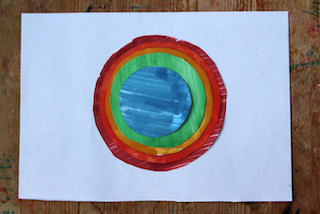
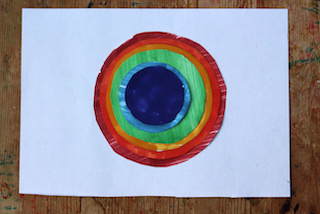
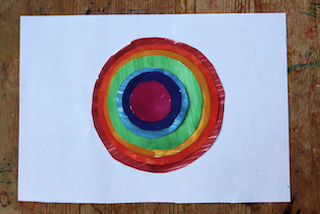
Also, let us remember the mockup we made. In the mockup we cut out paper circles, that we coloured by the colours of the rainbow. They were placed on top of each other. Now, we will use the same idea, but now we will use code. We will place a circle on top of another circle, to create the colours of the rainbow, placing a final white circle to get the arch shape. We place the grass on top to obscure half of the rainbow. Finally we place the tree on top of the grass, to look like the tree is in the foreground.
Step 2. Set the scene and the variables
The first stage to writing the code, is to set the window size and the background colour. This is like choosing the size of the paper, and colour of paper. Let’s set a wide window, that is three times wide as tall; 600 by 400 is suitable for our purpose.
size(600,400);
background(255,255,255);
From our Critical Thinking Sheet, we know already what the attributes will be: we have different colours of the rainbow, trunk colour, grass and leaf colours. We will define these by naming variables. In computing, a variable is a piece of storage. It holds a value that can be retrieved at a later point in the code, and also can be updated.
Top tip.
Choose descriptive variable names. trunkSize is better than using “t”.
In Processing the variables are typed. Meaning there are different categories of variable. For example, variables of type integer can only hold whole numbers such as 1,2,3,4 etc. they cannot hold fractional values. Whereas a floating point type variable can hold a real number, such as 0.5, 0.0021, or -4.3333.
Processing defines a color data type, to hold colours. We can define a colour, let us call it green, by writing the following code: color green = color(0,255,0);
color colRed    = color(255,0,0);
color colOrange = color(255,127,0);
color colYellow = color(255,255,0);
color colGreen  = color(0,255,0);
color colBlue   = color(0,0,255);
color colIndigo = color(75,0,130);
color colViolet = color(148,0,211);
color colTrunk  = color(165,42,42);
color colGrass  = color(80,250,80);
color colLeaf   = color(80,150,80);
color colWhite  = color(255,255,255);
Step 3. Draw the rainbow
In the Critical Thinking Sheet, we decided that there were three parts to the implementation: draw rainbow, draw grass, draw tree. Let’s draw the rainbow first.
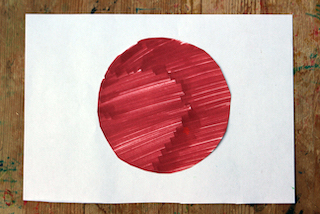
To create the rainbow, let us take a look again at the mockup, from the previous post. We see that the rainbow was made from several circles placed on top of the other. Each a little smaller from the previous one, and ending with a white circle.
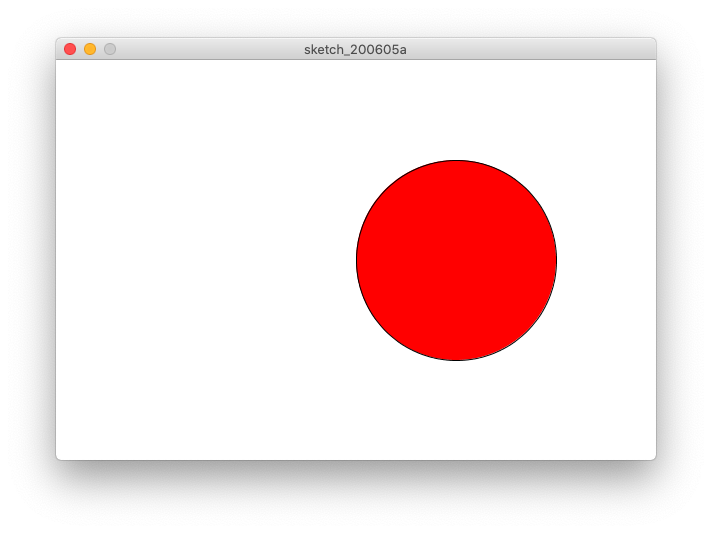
Circles in Processing are called ellipse. An ellipse with equal width and height will be a circle. An ellipse takes in four values; so an ellipse placed on the (x,y) position, with width w and height h, would be defined by ellipse(x, y, w, h). We need to place our circle in the right third of the screen, and about half way up. Therefore, because we already set the size of the screen to be 600 by 400, a suitable value for x would be 400, and y to be 200. Let’s define two variables x, and y to save these positions.
int x = 400;
int y = 200;
The default colour of an ellipse is white, so we need to change it to the right colour. We do this by changing the fill of the primitive. So if we write fill(colRed); to change the fill of an object to red.
fill sets the colour value for any shapes that use fill. Once a fill colour is set, it will stay that colour until we change it. Consequently, because each part of the rainbow needs to be shown with a different colour we will need to set a fill colour, draw an ellipse, set another fill colour, before drawing another ellipse, and so on.
Also, each subsequent ellipse will need to be slightly smaller. Let us define the first circle to be of width 200, and height 200. Then subsequent circles can be 20 less. We also need to end by circle drawing part with a white circle, to get the arc effect that we need for our rainbow.

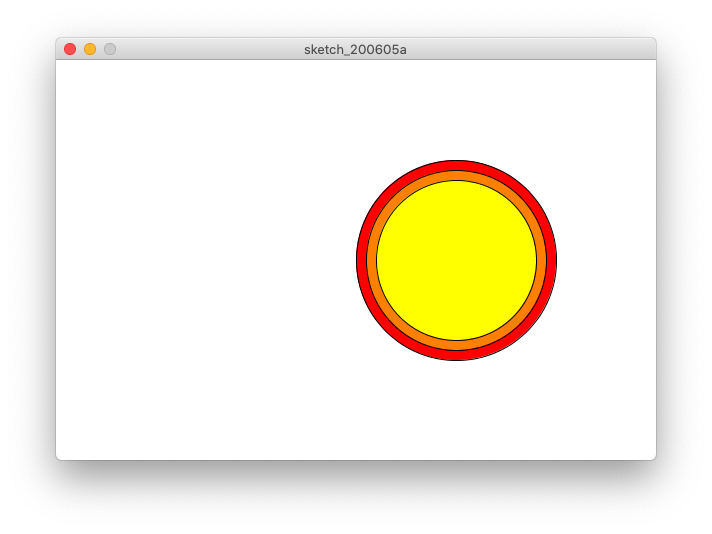
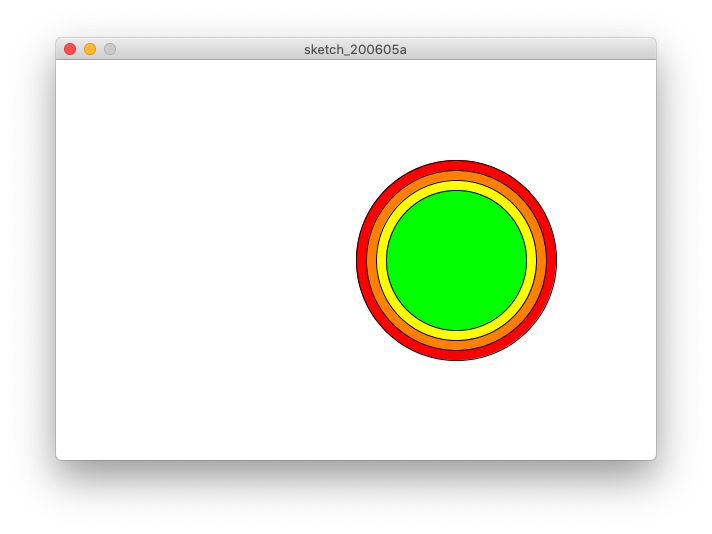
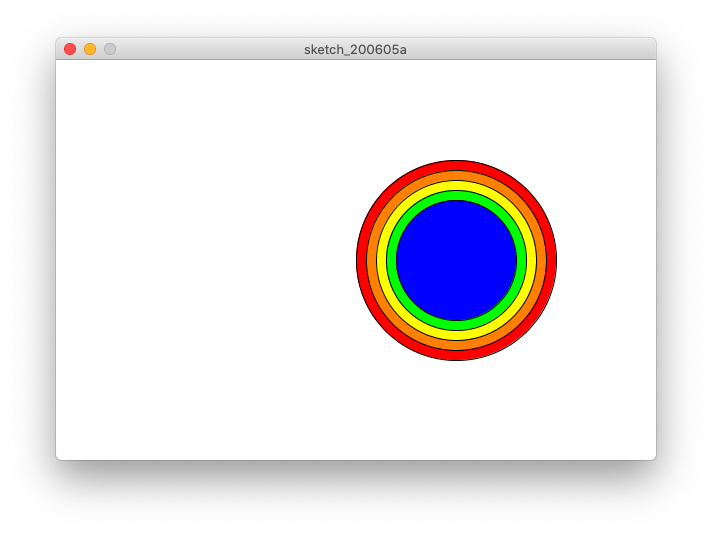

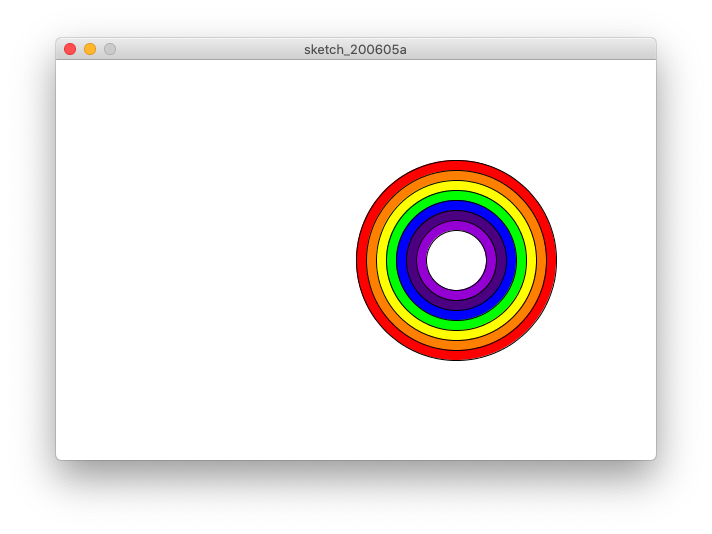
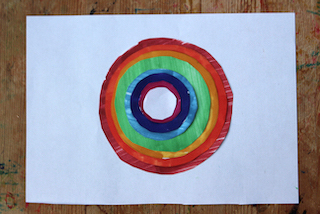
A set of ellipses (circles) placed on top of each other. Each have a black line around them.
Top tip.
The term stroke is used by other graphics libraries and tools, to change borders.
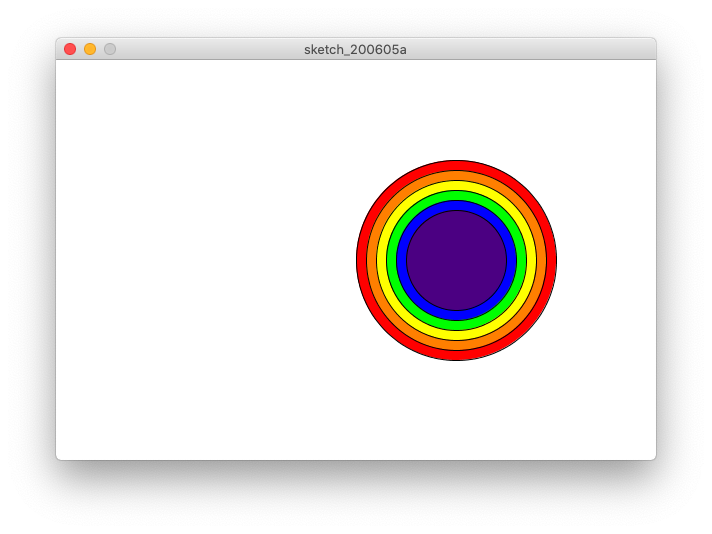
By default, each of the ellipses have a black line round them, this is called stroke. You can see in the picture above that there is a black line around each circle. In Processing, we can change the stroke width by changing the strokeWeight value, and its colour by changing the value of stroke. For example, strokeWeight(10)will define a shape with a very thick line round it, and stroke(255) would make a white border, while stroke(0,255,0)would make a green border. We probably don’t want the stroke to appear in our rainbow, so we will remove the border by typing: noStroke();
Finally, we need to end by drawing a white circle, to get the arc effect that we need for our rainbow.
noStroke();
fill(colRed);
ellipse(x,y,200,200);
fill(colOrange);
ellipse(x,y,180,180);
fill(colYellow);
ellipse(x,y, 160,160);
fill(colGreen);
ellipse(x,y,140,140);
fill(colBlue);
ellipse(x,y,120,120);
fill(colIndigo);
ellipse(x,y,100,100);
fill(colViolet);
ellipse(x,y,80,80);
fill(colWhite);
ellipse(x,y,60,60);
Step 4. Draw the grass
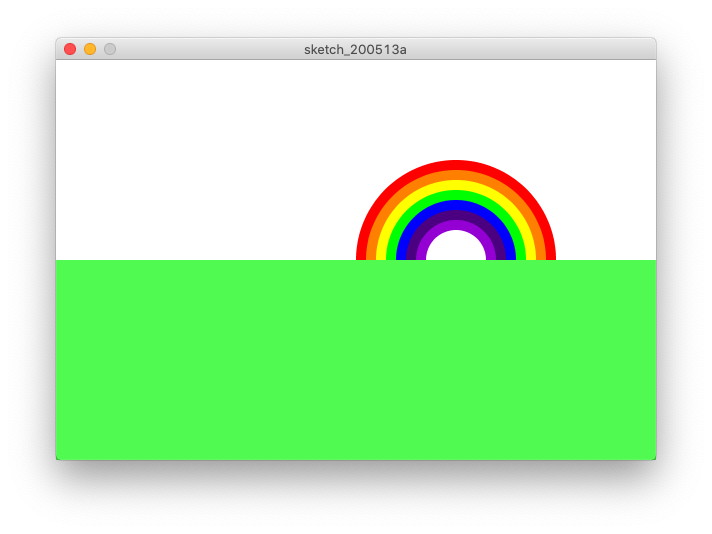
Now we want to draw the grass. This will appear in the foreground, so we need to draw it after the rainbow. We can draw the grass by placing a large rectangle on top of everything.
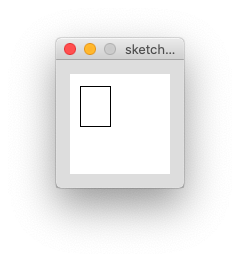
In Processing rectangles are created with the rect function. The standard rect function takes in four parameters, x and y coordinates, and its width and height. Therefore rect(10,12,30,40) would create a small rectangle, positioned at coordinates (10,12), with a width of 30 and height 40.
We need a large rectangle that covers half of our window, and covers half of the rainbow. We can achieve this by starting the rectangle at 0,200 and going to the maximum width and height of the window, which is 600,400. Again we need to set the fill of the rectangle first to give it the grass colour.
fill(colGrass);
rect(0,200,600,400);
Step 5. Draw the tree
Finally we need a tree. We can draw the tree with one brown rectangle, and two green circles. Because these are drawn last they will appear on top of the grass.
fill(colTrunk);
rect(100,170,20,150);
fill(colLeaf);
ellipse(110,180,100,100);
ellipse(110,140,80,80);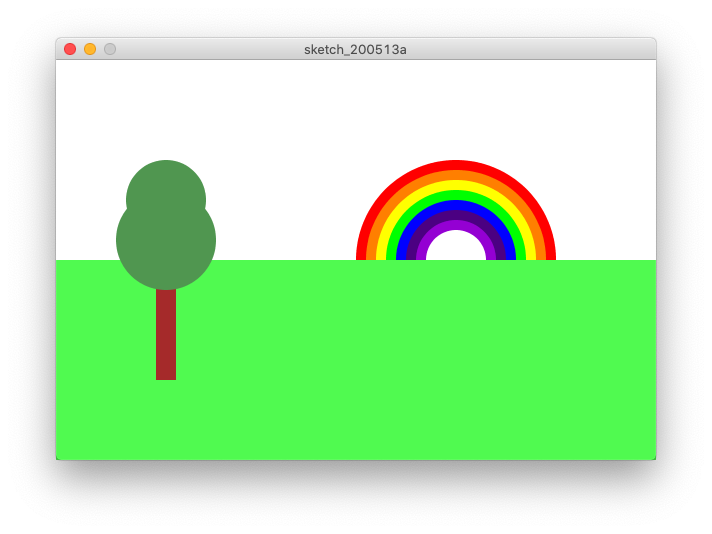
Step 6. Additional activities
You may like to adapt your picture. Here are some suggestions that you like to try.
- Change the colours of the rainbow. Perhaps make the rainbow from greys.
- Alter the size of the rainbow, make it very big.
- Add several trees. Perhaps adding a black line around each tree trunk.
2 replies on “Create a rainbow in code”
Thankyou for explaining so well. Could you please teach us how to draw a pizza with toppings
Hello, that sounds like a really cool idea. You could have a try. I’d suggest doing a grey large circle (to make the crust), then a smaller red circle (for the tomato), followed by some smaller (dark red) random circles (for the pepperoni), and some smaller random rectangles (for the cheese). Fun. Thanks.